
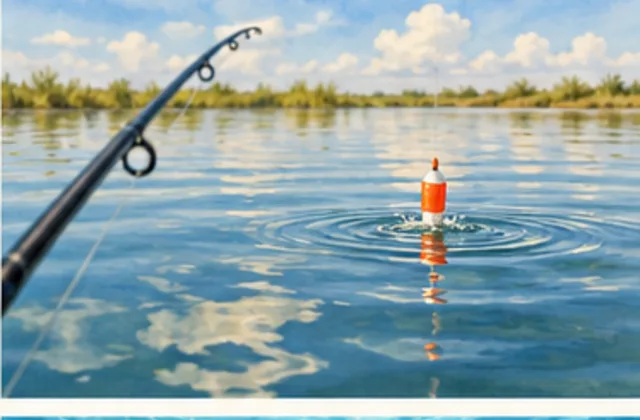
A first cork lesson should cover the whole attempt: choose a visible path, cast, settle, move, watch, retrieve and inspect. The popping-cork guide explains the parts and assembly before that sequence.
A popping cork is a float you can move to make a splash or clicking sound. A baited hook or suitable lure hangs below it. You cast the rig, let it settle, move the cork and watch during the pause.
Start with a correctly assembled rig and a setup you can handle. If the parts are unfamiliar, the assembly page explains the main line, float, leader and hook first.
Choose a short path you can watch
Look at the surface movement beside your fishing position. Current means flowing water; drift is the movement of the float as wind or water carries it.
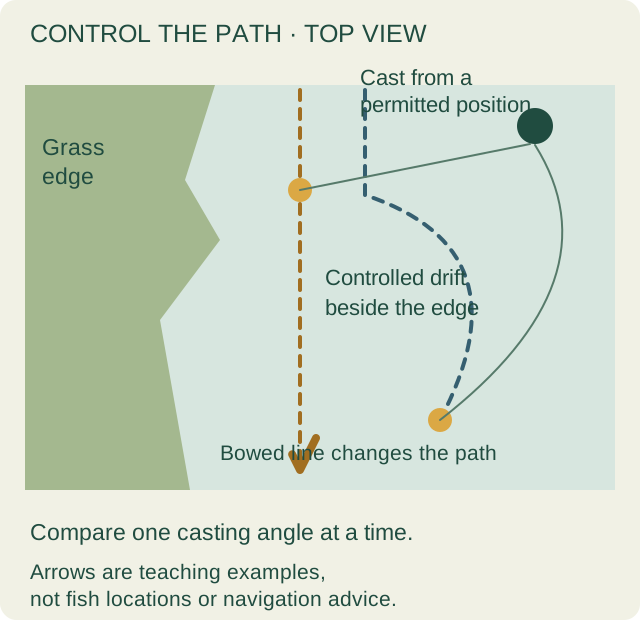
Pick a short path through clear water where you can cast and bring the rig back without reaching into plants. For example, watch a drift beside the outside of a grass edge. If the float moves toward that grass, bring it back before the hook gets carried into it. A shorter cast is easier to follow while learning.
 Open the full-size illustration →
The drawing separates where the water carries the float from where your line pulls it. Both affect where the bait goes. Use it to separate three observations: the cork's visible path, the curve or slack in your line and what comes back on the hook. It doesn't reveal the bait's exact position or establish why the cork moved.
Cast, settle, move and pause
The hook hangs some distance below the cork, so check space for the whole rig, including behind you. Use a smooth cast suited to your outfit, with the crew's direction on a boat.
Then follow a simple cycle:
- Let it settle. After the rig lands, give the bait or lure time to hang below the cork.
- Take up unnecessary slack. Slack is loose line. Wind gently while watching the float, stopping before you start towing it back. You're removing loose line so a small rod movement can reach the cork.
- Make a short movement. Give the rod tip a brief pull so the cork disturbs the surface, then ease off and let it settle. You aren't trying to drag it steadily across the water. On a lesson, have the instructor show that small pull and pause with your rig.
- Pause and watch. Let the bait or lure settle below the cork. Watch for a dip, sideways movement or disappearance rather than immediately making the next splash.
- Repeat while you can control the path. Bring it back and inspect it if it tangles or reaches an obstruction.
There's no required pop count or pause length for every situation. Begin with a simple rhythm you can repeat. Try a different pause on a later cast instead of changing several things at once. Ask the instructor to demonstrate the complete cycle on the actual rig, including the return, hook response and when to call for help. Then repeat that instructed cycle before adding another adjustment.
Watch the pause, not just the splash
A float going under can mean a fish has taken the bait. A hook caught on an object—a snag—can also pull it down, as can too much weight below the float or moving water. Compare what happened with the rest of the drift: did it suddenly dip in open water, or has it been dragging into the same patch of plants? That helps you describe the change; it doesn't prove which cause you have.
Ask what response your hook needs before fishing. A circle hook is generally brought under steady pull rather than given a hard snapping hookset. The hook-shape page explains why that differs from some J-hook methods.
With live bait, retrieve and inspect it periodically. A lively-looking cork doesn't prove the shrimp below it is still properly attached. The shrimp-placement lesson helps you compare placement and movement before casting with the bait's condition on return. Include leader tangles, plants and connections in that return check, even if the cork appeared to work normally.
Fix the problem you can see
- The cork doesn't respond to the rod: gently take up loose line while watching it. Try a shorter cast if you still can't control the connection.
- Each pop drags it a long way: reduce the movement and watch how it settles.
- The hook wraps around the cork: retrieve, untangle and try a shorter, smoother cast.
- The hook returns covered in grass: bring it back, clear it and try a path farther from the plants. Review the leader length with the assembly lesson if the hook still reaches the bottom or vegetation.
- The cork follows the wrong path: a bow is a curve of line between you and the float. Wind or water can push that line and pull the cork sideways. Take in excess loose line without towing the float, then compare a shorter cast or a different direction on the next attempt.
For an illustrative comparison, keep the rig and intended path the same and try a shorter cast with the instructor. Watch whether a small pull now reaches the cork without towing it, then inspect the rig on return. If you also change the leader, weight and pause, you cannot attribute the difference to casting distance alone. Note if the water or wind changes during the comparison.
Keep a useful note specific: the cast/path, loose line or bow observed, movement and pause used, cork response and returned bait/rig condition. ‘Shorter cast responded to a small pull’ or ‘The hook came back clear when I cast farther from the grass’ gives you an action to repeat. A dip remains an observation; follow the taught hook response rather than record it as a confirmed catch.
If the rig's components change, revisit the assembly, complete casting weight and control lesson before relying on the earlier result. Finish by containing the hook and leaving the setup ready for its next instructed use.